PRODUCTS:
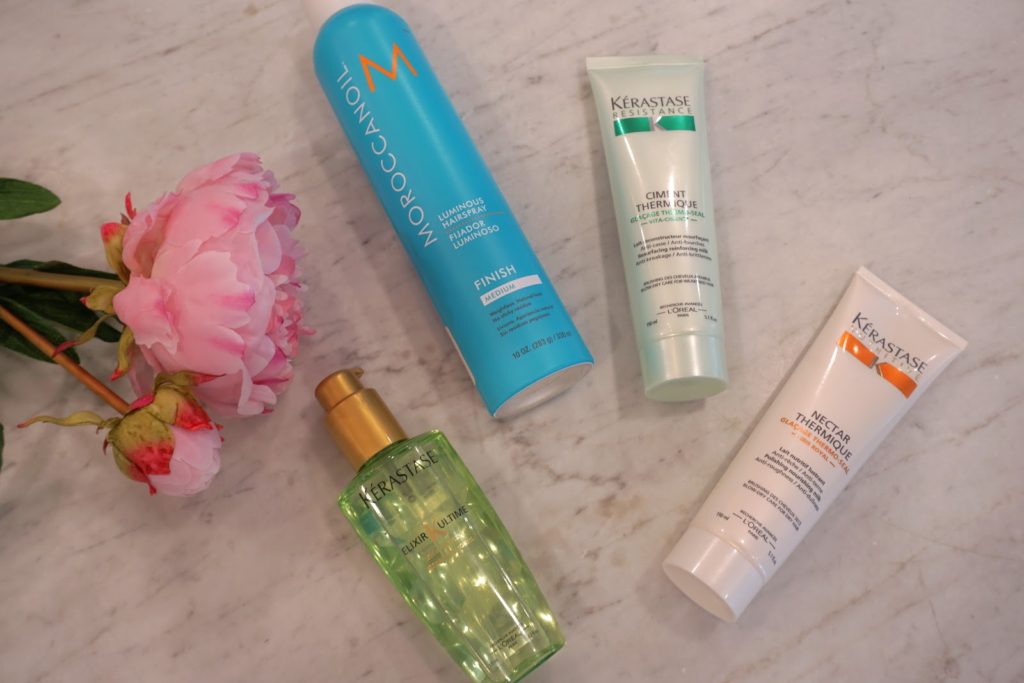
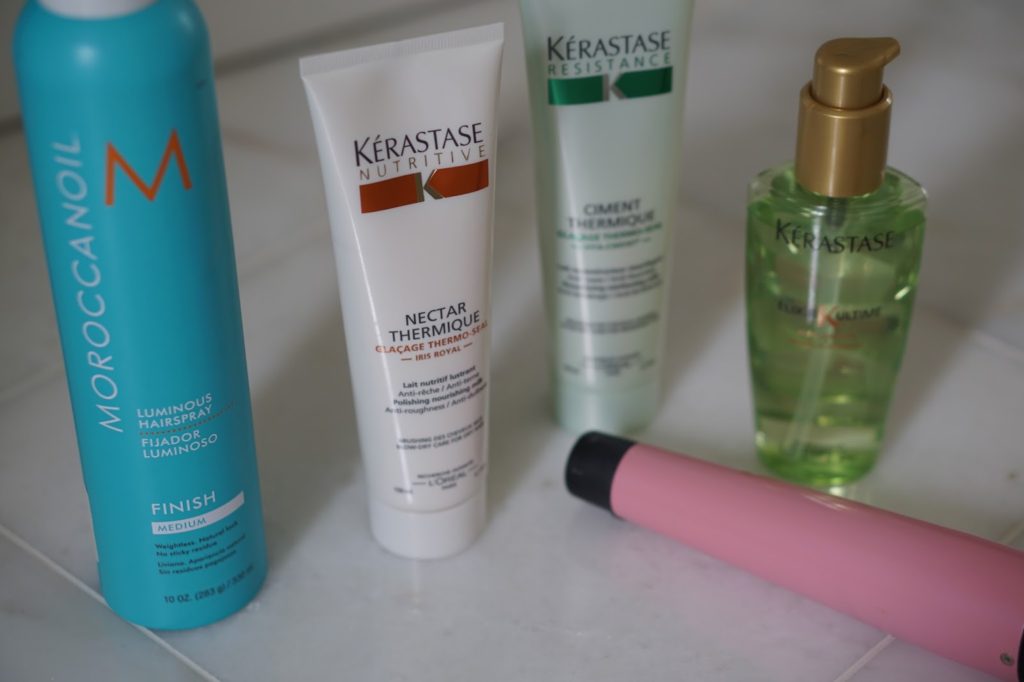
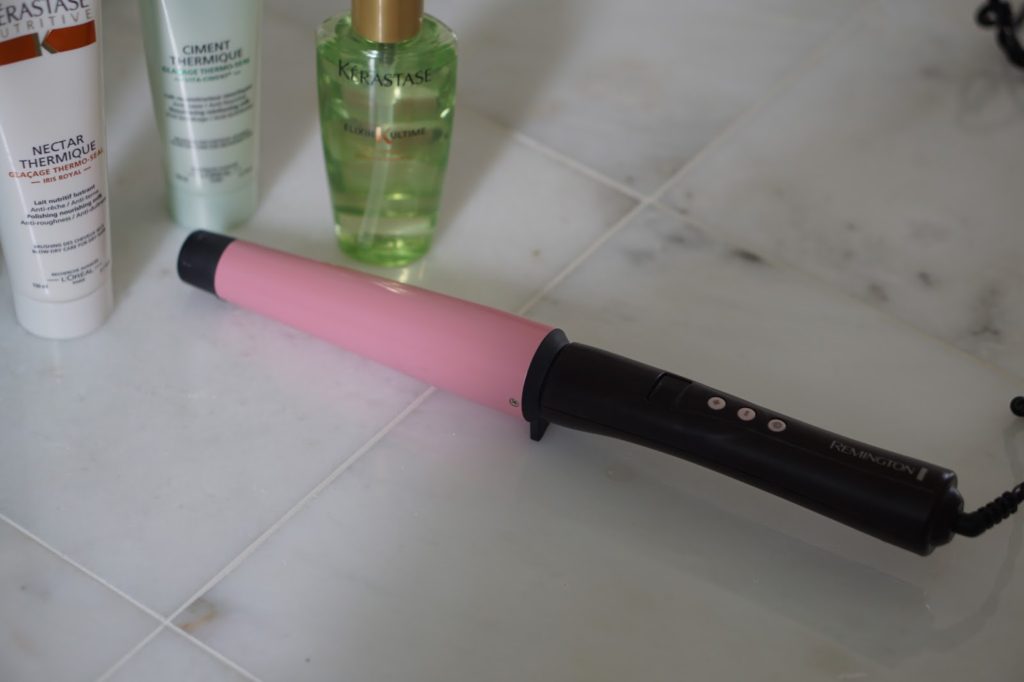
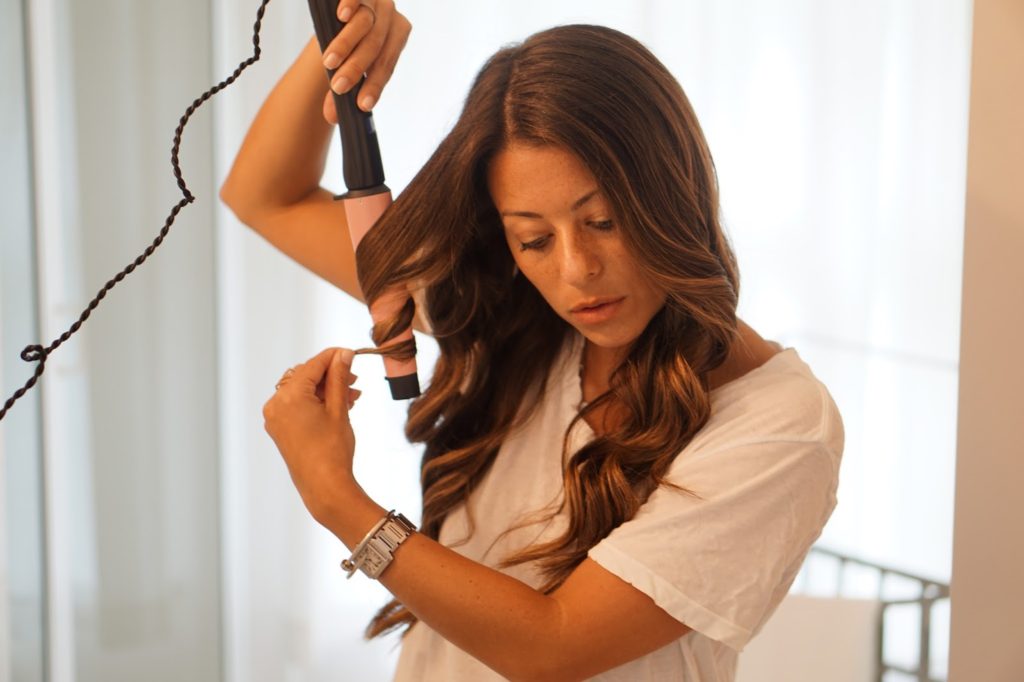
Remington Large Pearl Ceramic Curl Wand: Everyone raves about really expensive curling irons or wands, but to be honest, I don’t think it is necessary. I have tried out a ton of wands / curling irons and the Remington is by far the easiest to use and the most effective.
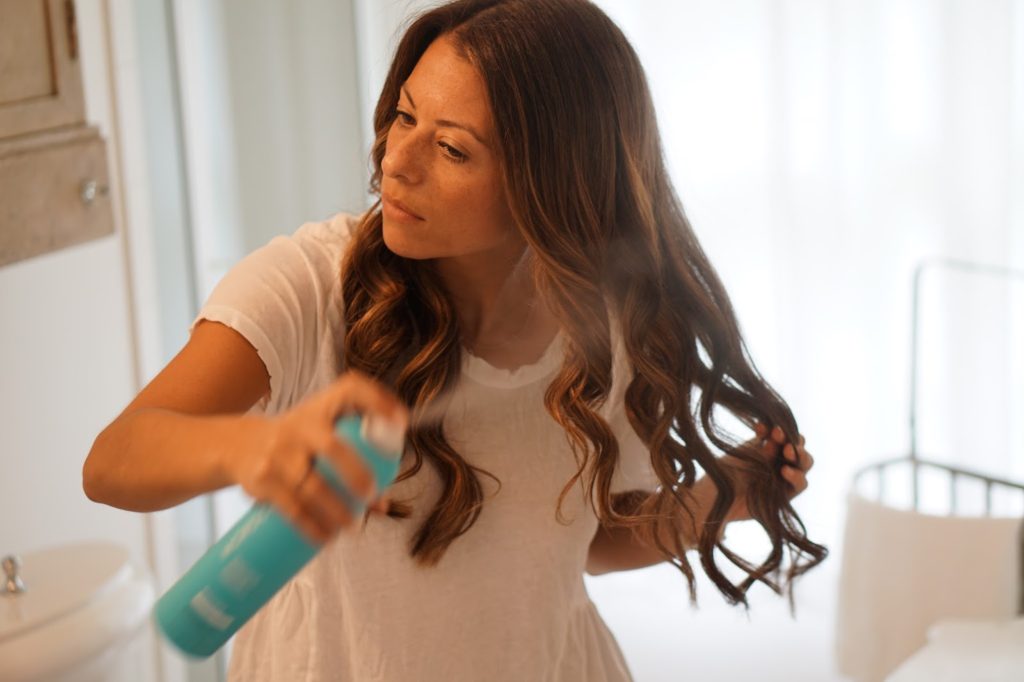
Moroccan Oil Luminous Hair Spray Medium Hold: This is my favorite hairspray, ever. The scent is amazing and it is the perfect medium hold so you don’t get that sticky feel.
Kerastase Resistance Ciment Thermique: This is the best product, along with some other Kerastase products for prepping your hair before you blow dry and curl. Using heat protective products is very important, especially when you have highlighted hair.
Kerastase Elixir Ultime: I love this product for adding some shine and also protecting my hair from heat damage and frizz. The smell is addictive and I know I am protecting my hair while styling it.
Kerastase Nutritive Nectar Thermique: I mix a little bit of this with the Kerastase Resistance Ciment Thermique. Both do similar things, but I like the combination for extra protection. This acts as a leave in conditioner, smoothing and defining.
PREP
STEP 1
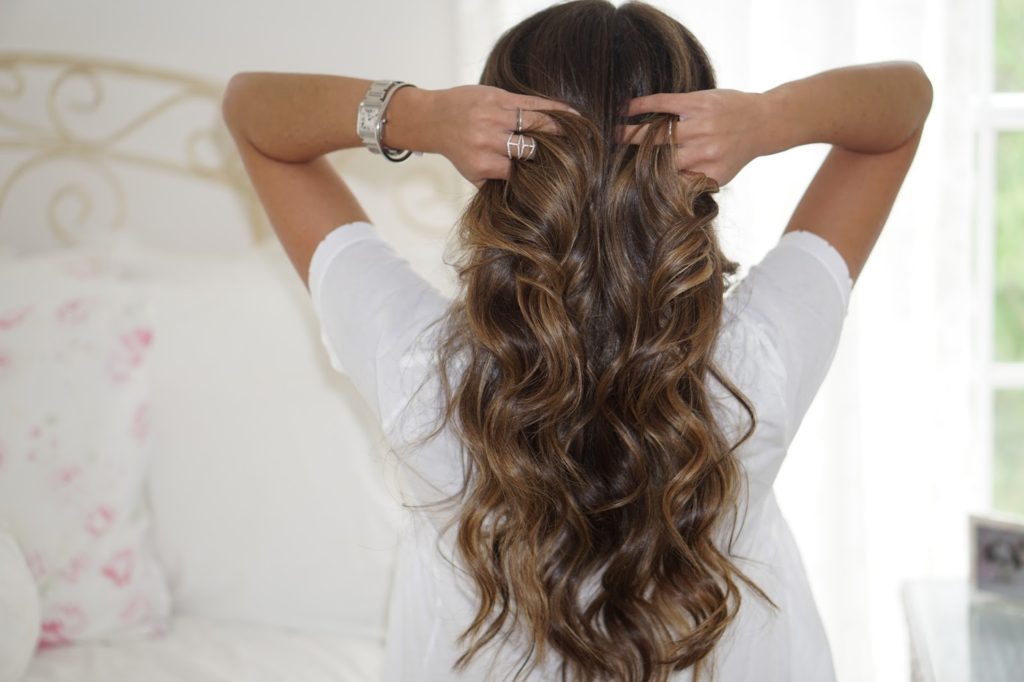
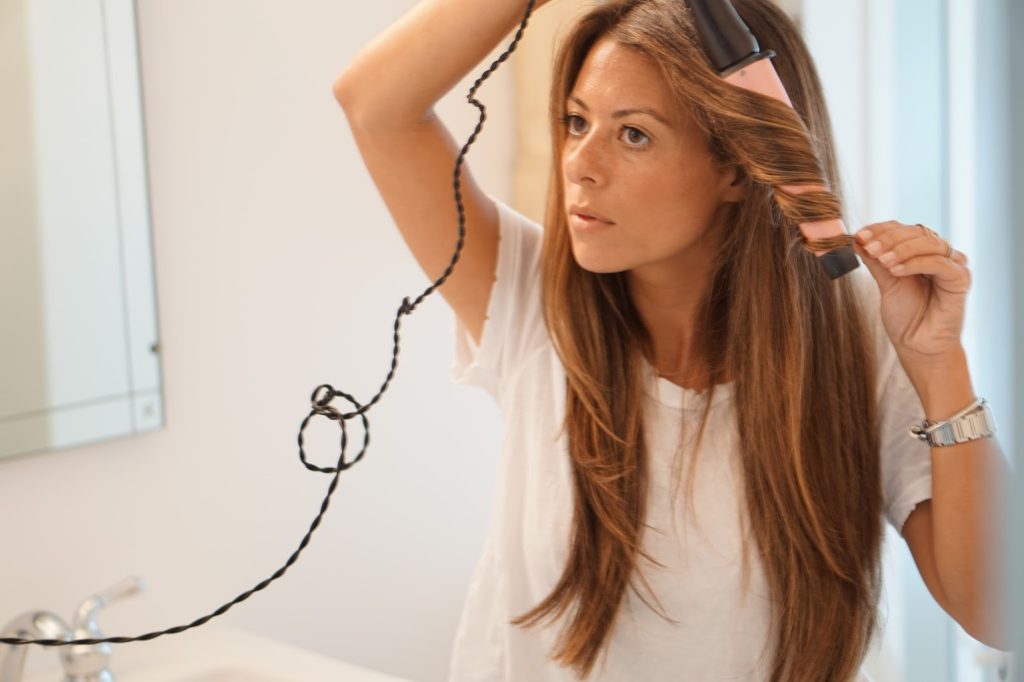
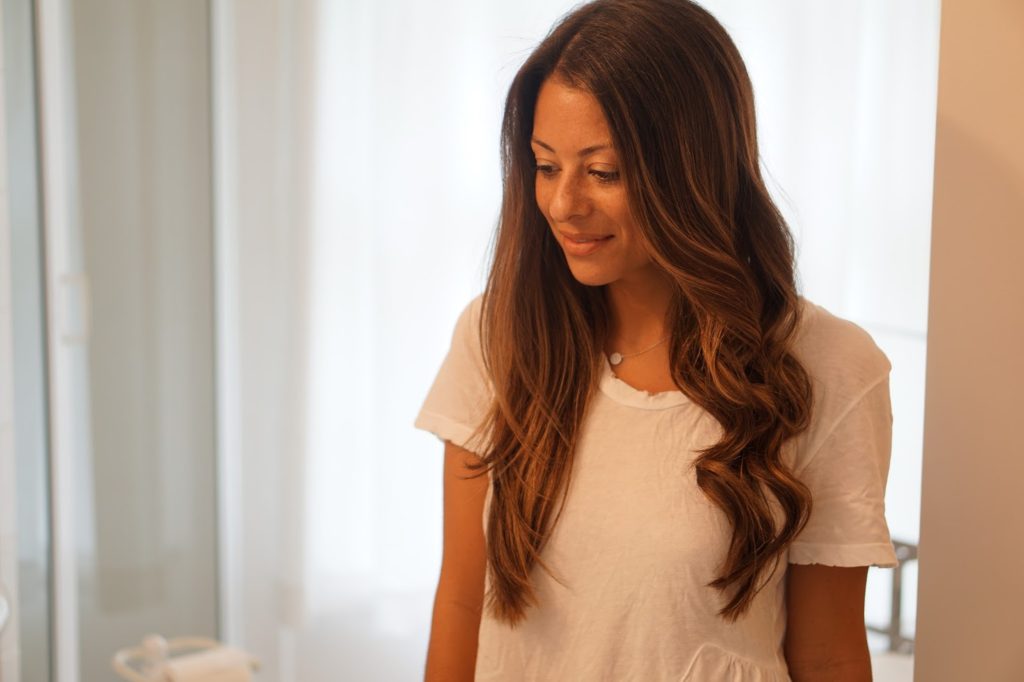
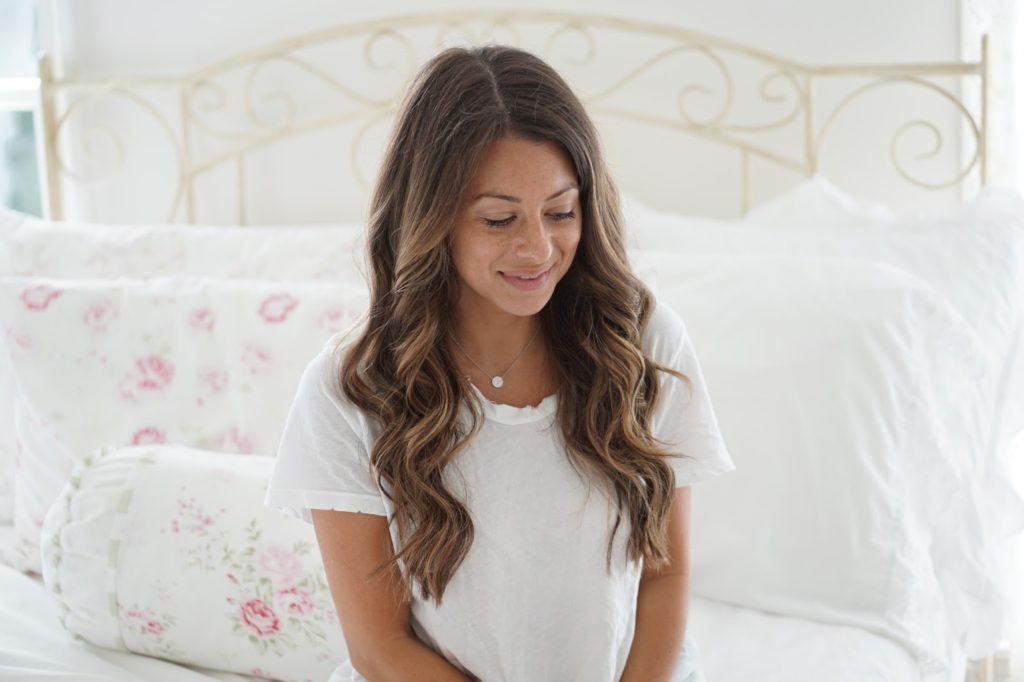
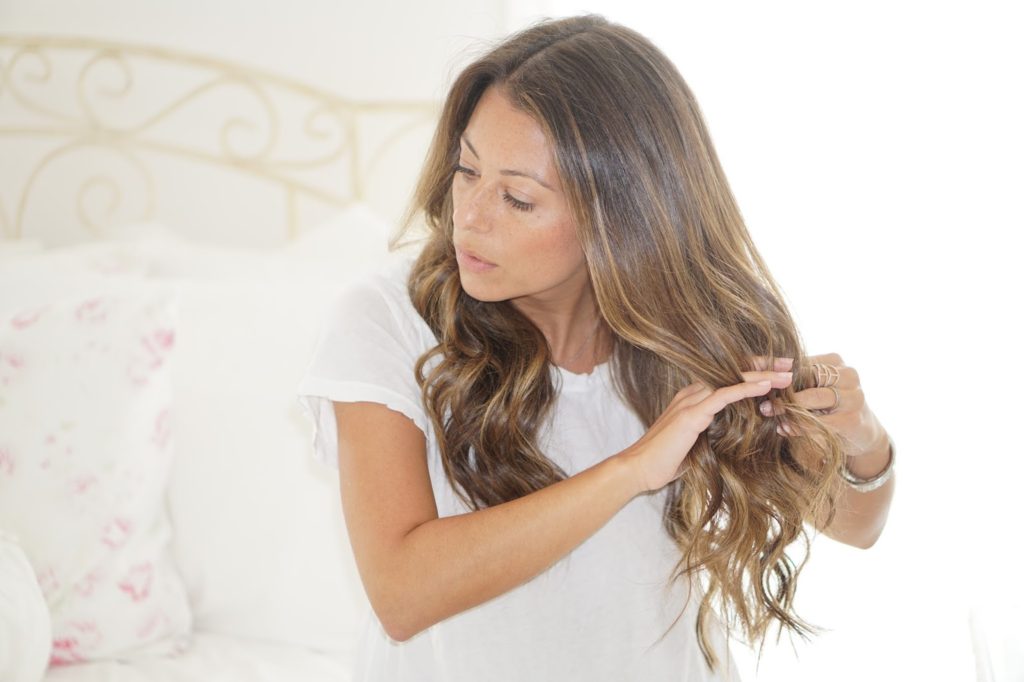
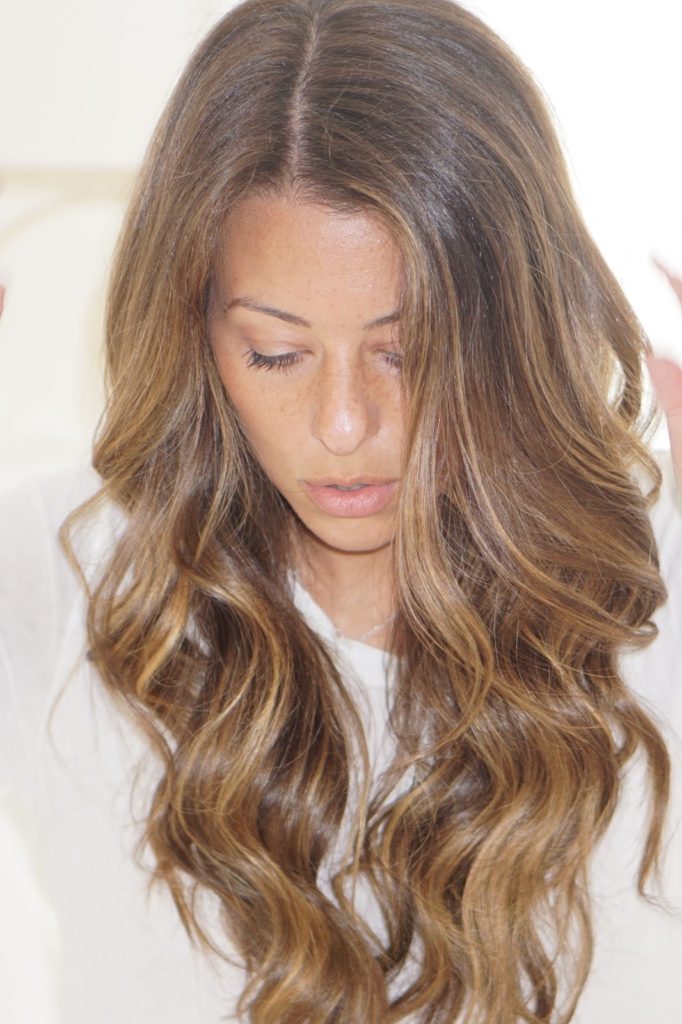
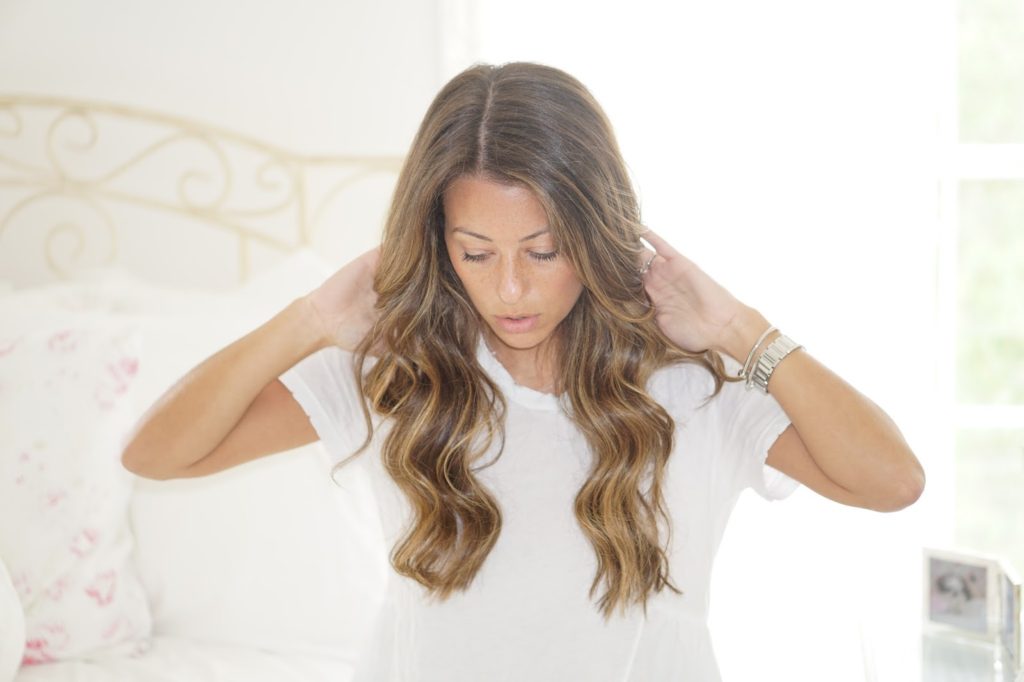
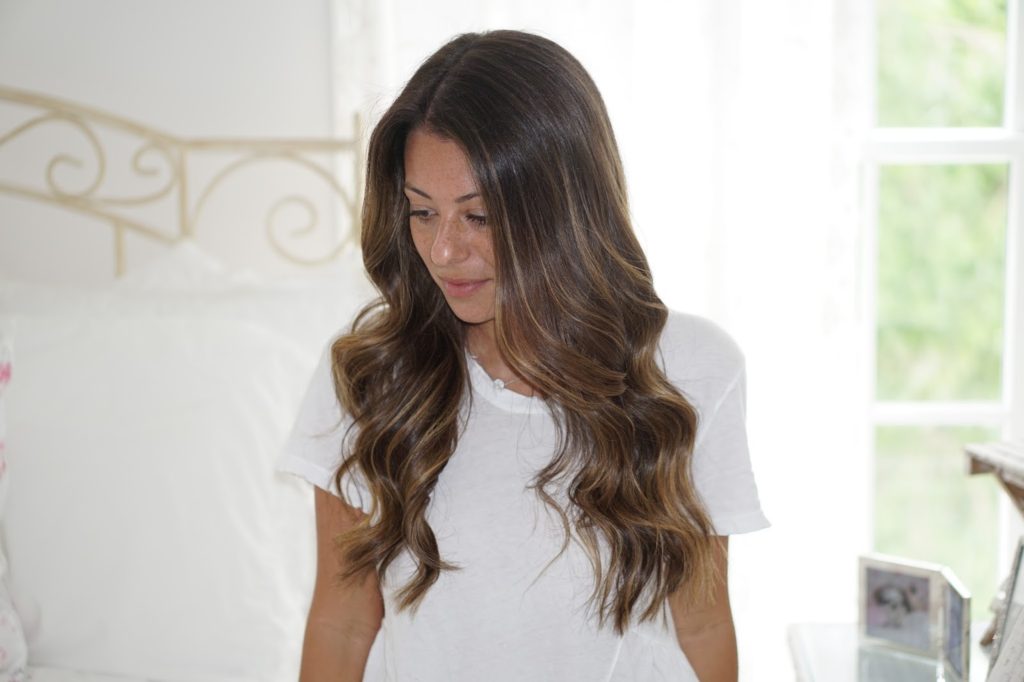
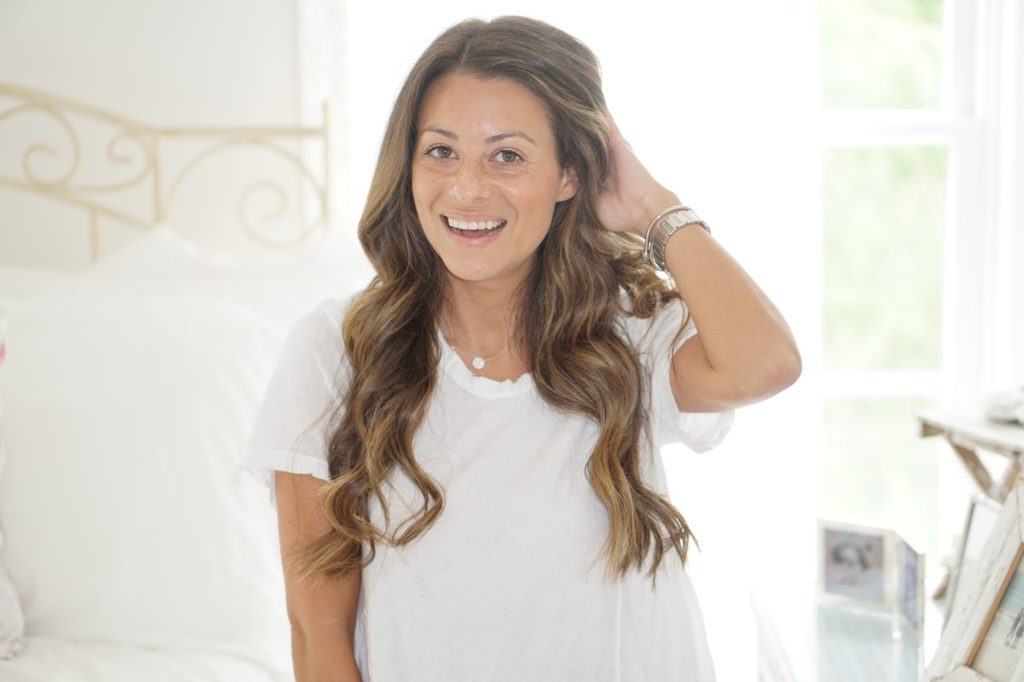
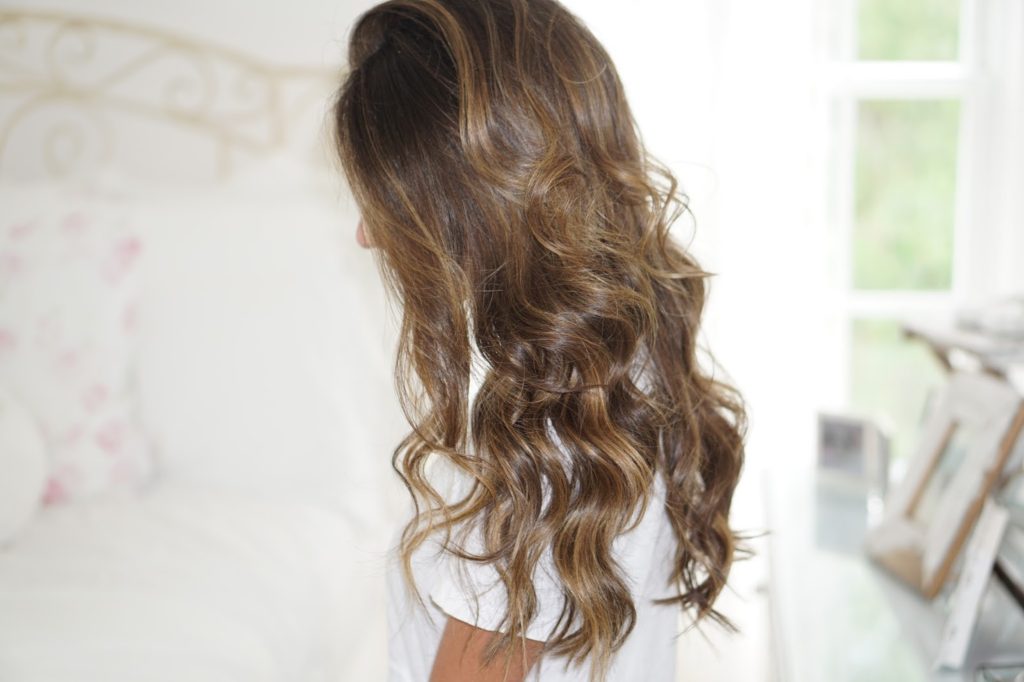
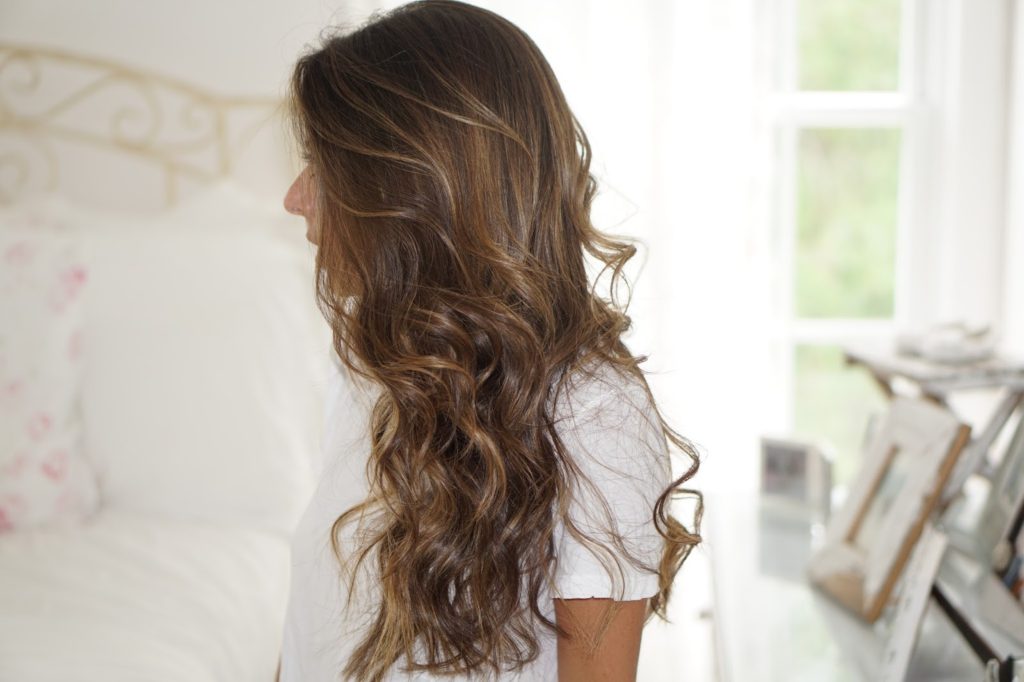
Now the fun part, ready to start wanding! Let me preface this by explaining why I love a wand, over a curling iron. I have used both – and I typically like the relaxed beach wave look more. I found a wand to be MUCH easier to use, versus a curling iron. The clip on the curling iron tends to add an extra element of difficulty, and I don’t love when the curl reaches the end of my hair. I like to keep my ends straight and focus on the length of my hair.I use a 1 1/2″ curling wand because there is nothing worse than a tight curl! I want my look to be beachy, relaxed, and look effortless. I have very thick hair so another little secret of mine is that I don’t wash my hair every day. I am lucky enough that I can keep my hair for 2-3 days without washing. Curls tend to also stay and hold better on day old hair… so I always plan accordingly if I have a special event I am styling for. My photos for this post were taken on the same day of washing & blowing my hair so I will definitely have to put together another post with 1-2 day old hair to show the differences!
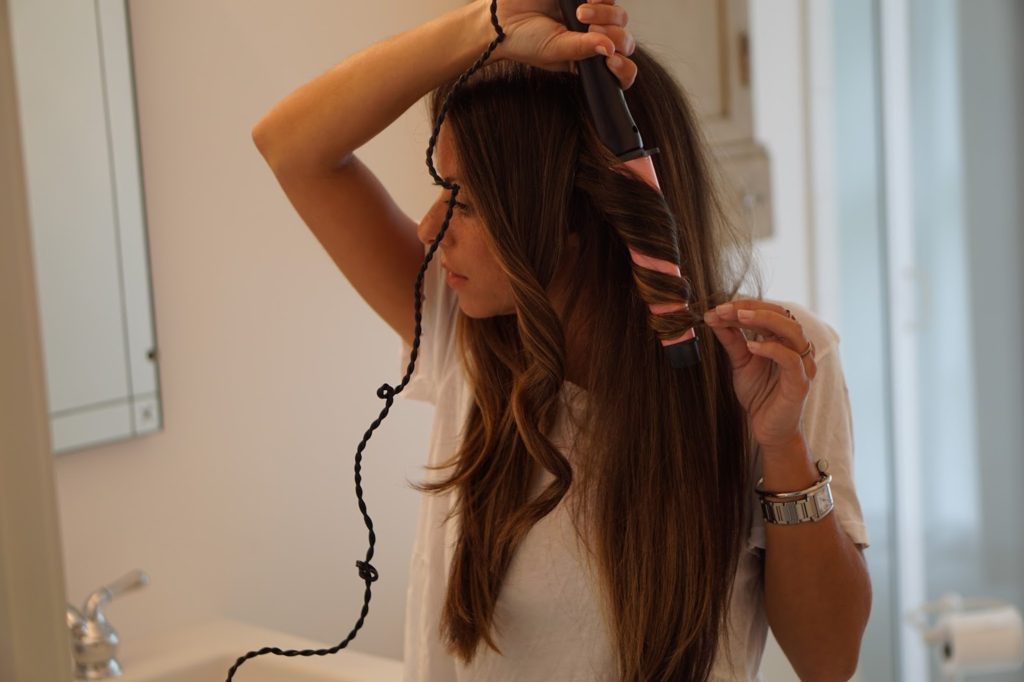
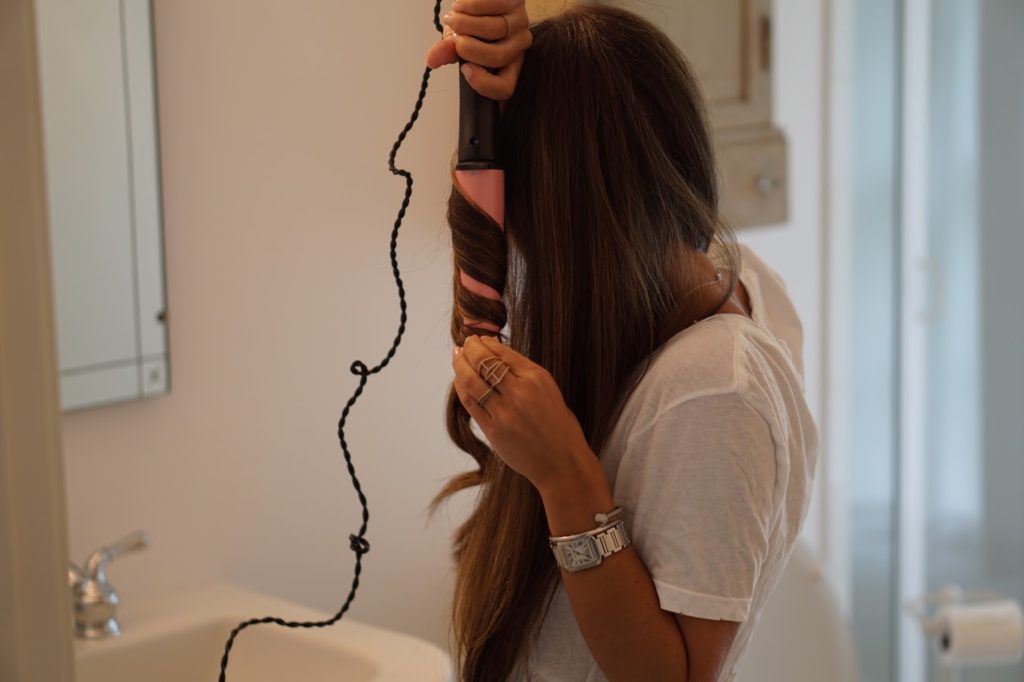
I begin my taking 1-2″ sections to curl at a time. I usually start underneath or at the front by the pieces framing my face. Once you have your sectioned piece, wrap your hair around the curling iron, away from your face! This is by far the most important lesson…. you want the waves to frame outwards, therefore you have to wrap the hair in opposite directions on the right and left side! As you can see below, I hold the end of my hair off of the iron as I want it to remain straight. I don’t want to have that little wave at the bottom, this helps create a beachier look. Once your hair is all around the wand, hold for 5-10 seconds. The longer you hold, the tighter the curl. Blake and Gold tip: If you are prepping your for a wedding or event, hours in advance…. You will want to keep the hair on the iron longer, to allow for a tighter curl. Everything will fall and you want to be sure you are able to keep a curl for a longer amount of time.
Once you are finished with one piece, do not brush out the curl. Let it sit and move onto the next piece.
STEP 2
STEP 3

So good ABG!!!!!
Love this! I've been looking for a cheap wand! Gunna go grab this one!
Chasingdreamsinrippedjeans.com